Making your own granola is a game changer and once you master the process you may never go back to store bought. This homemade peanut butter granola has the perfect balance of peanut butter flavor, sweetness, and crunch. Plus there are no added preservatives and it's much more cost-effective than store bought! This peanut butter granola is vegan, oil free, and can be gluten-free (with using gluten-free oats).
Granola is one of those foods that can be enjoyed anytime, anywhere. It's delicious, pair-able, and portable. Excitingly, this versatile food can easily be made with pantry staples. This easy-to-make recipe is loaded with wholesome ingredients like oats, nuts, and seeds, is sweetened with maple syrup, and as the name suggests, uses dreamy, creamy peanut butter. Whether you're looking for a quick breakfast on-the-go or a satisfying snack to get you through an afternoon slump, road trip, or hike, this homemade peanut butter granola is sure to hit the spot.
Jump to:
Ingredients
Made with just a handful of wholesome ingredients, including oats, nuts, seeds, and of course, peanut butter, this granola is a great way to start your day off on the right foot.
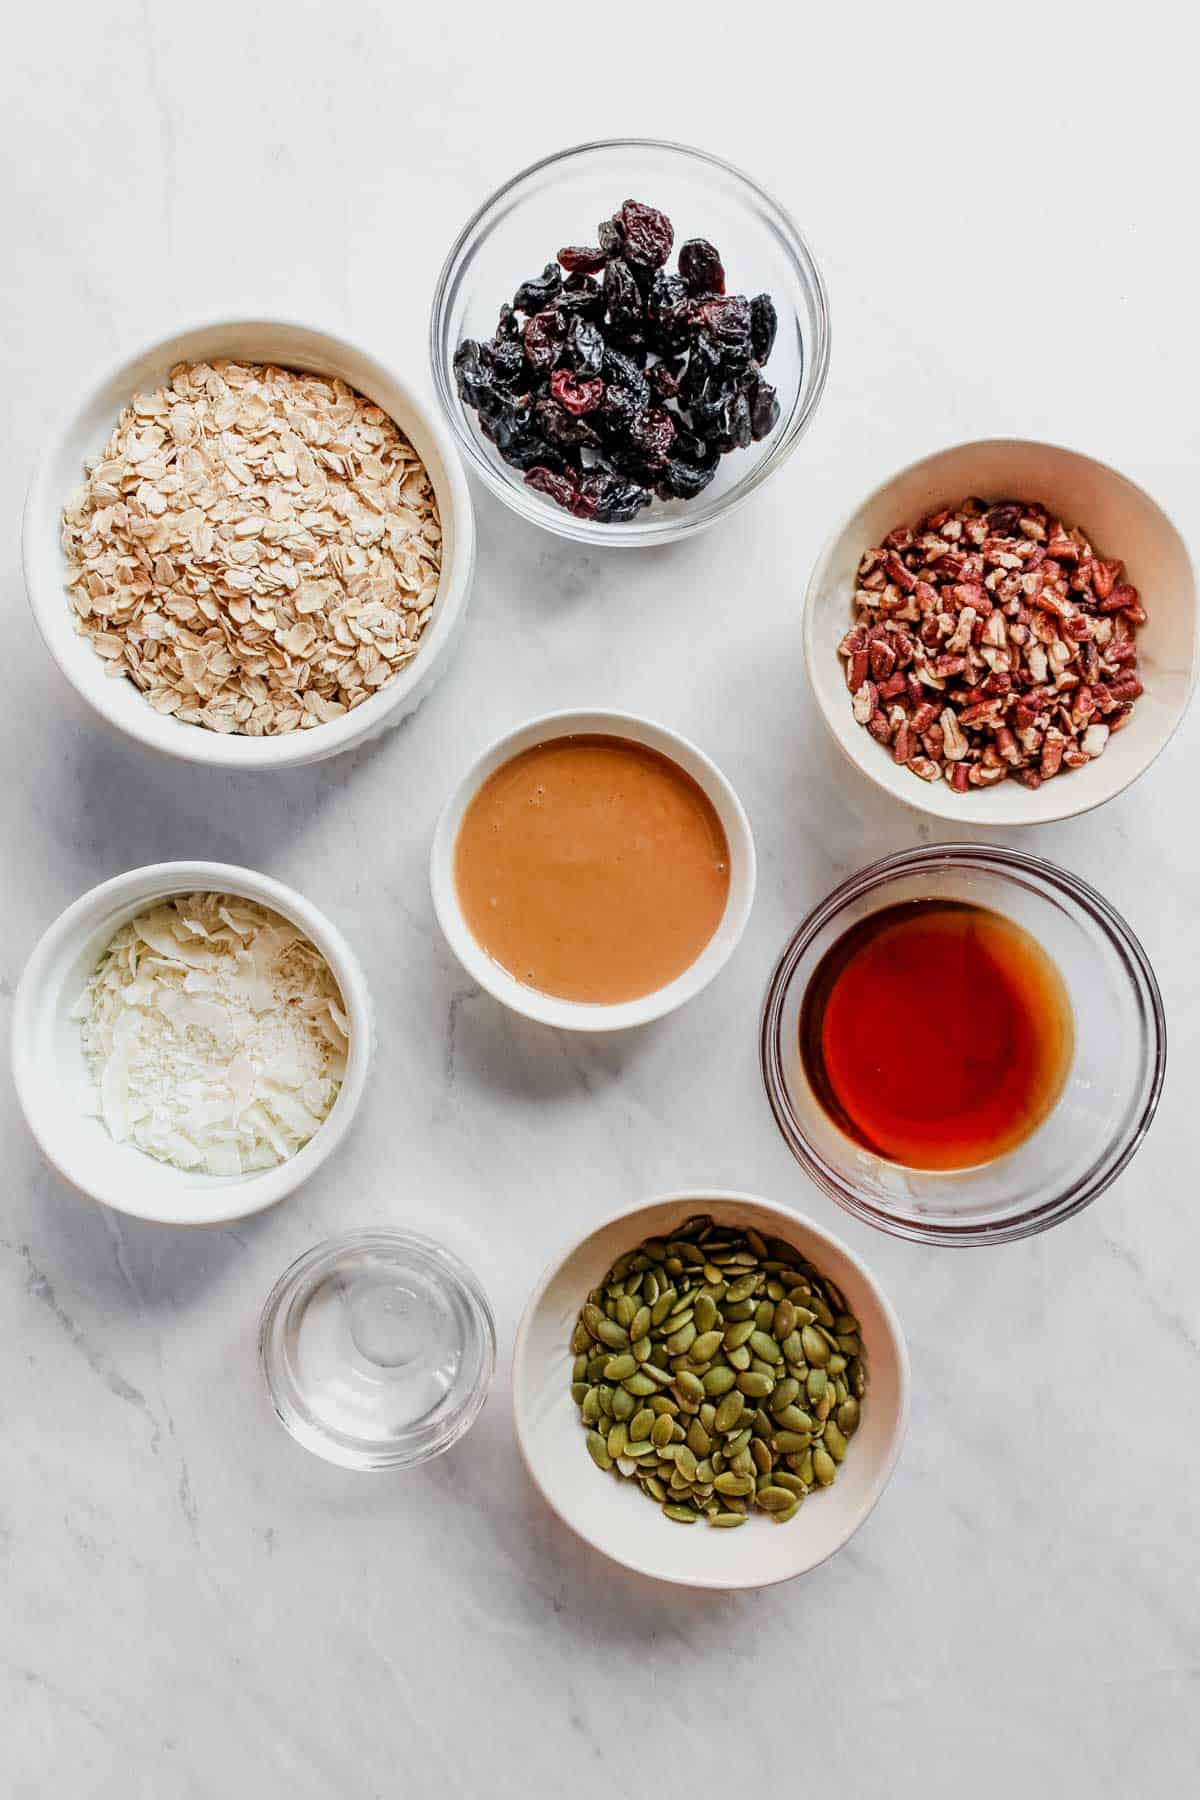
- Old fashion rolled oats
- Raisins
- Pecan pieces
- Pepitas
- Shredded coconut
- Natural creamy peanut butter, salted (I use the Kroger Natural Creamy PB; another example is Smucker's Creamy Natural PB)
- Maple syrup
- Vanilla extract
- Water
See recipe card for quantities.
Instructions
This recipe involves only a few steps to prepare.
Begin by adding the peanut butter, maple syrup, vanilla extract, and water to a small or medium pot on the stove. Cook on low-medium heat and stir well, until peanut butter has melted and is well combined with other liquid ingredients.
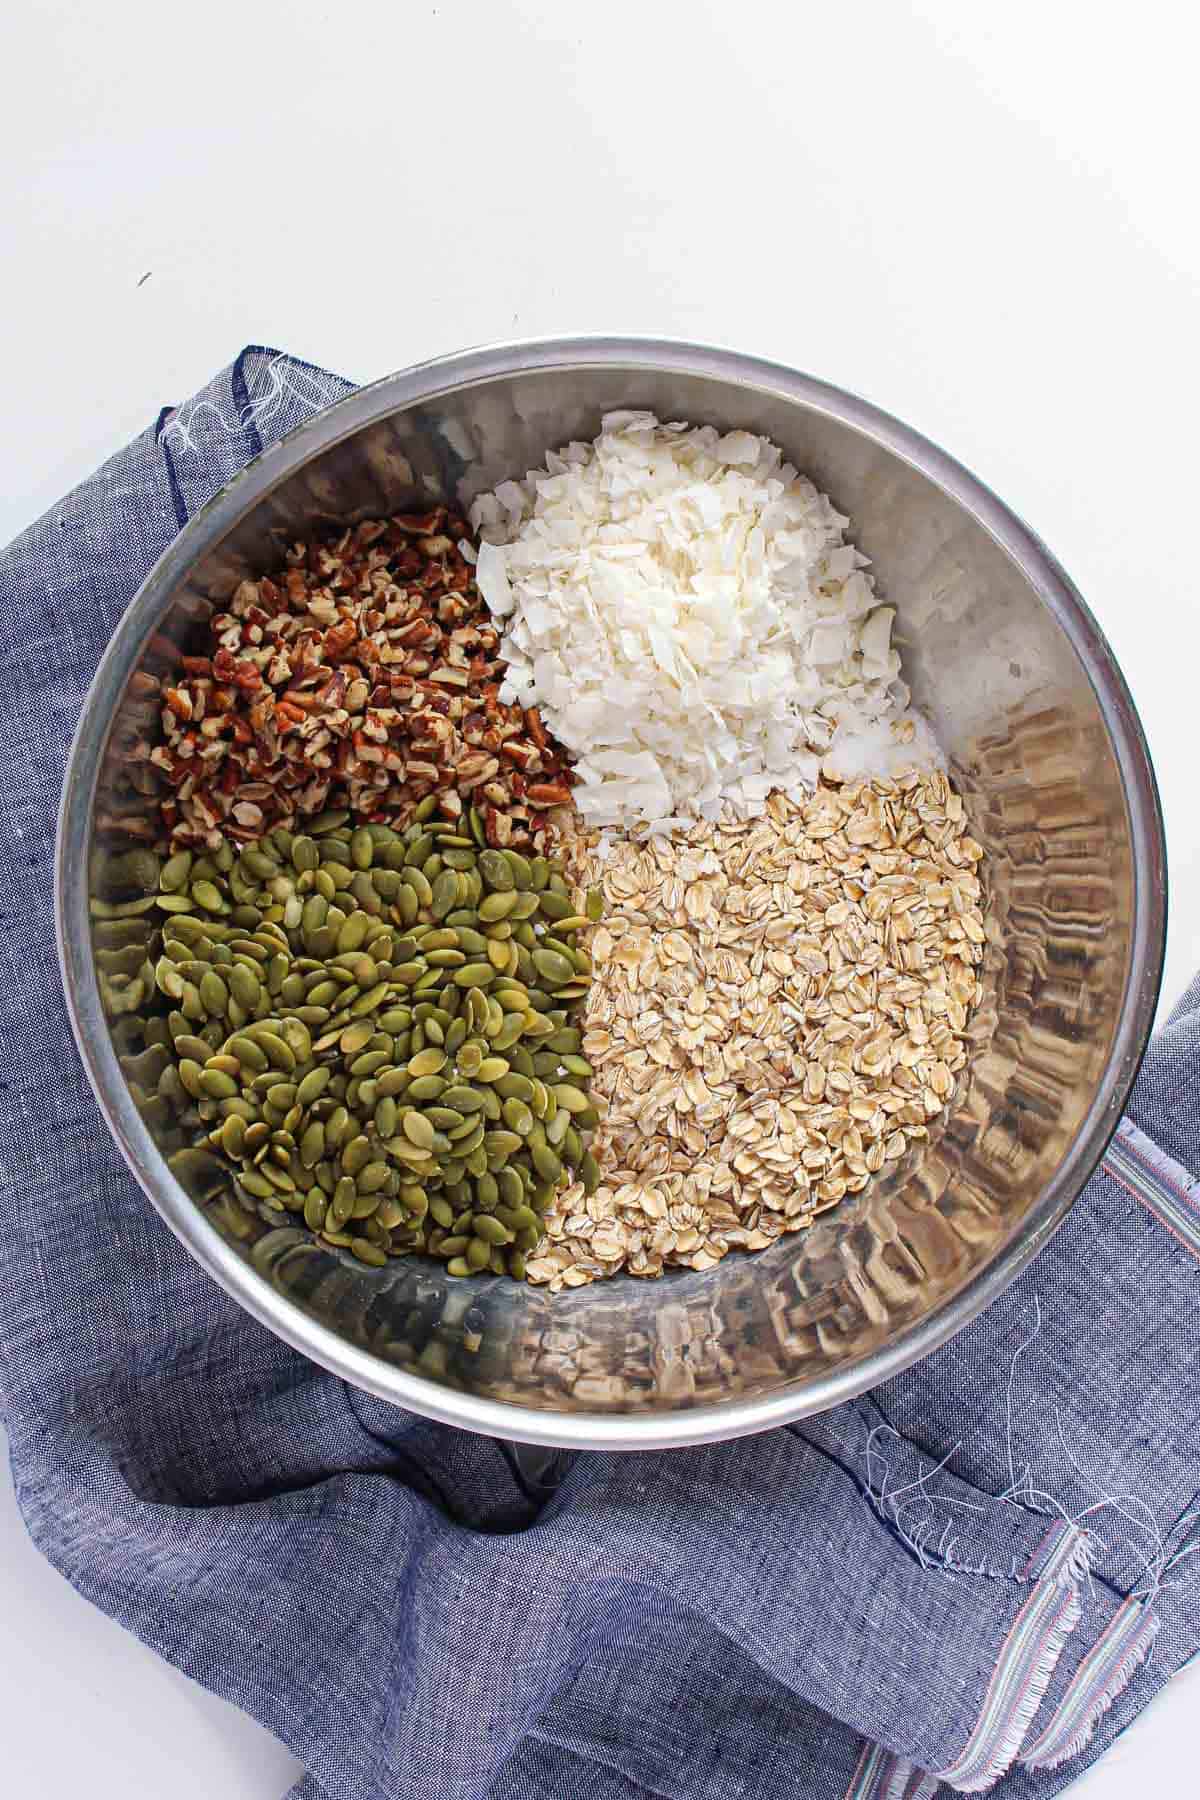
Add oats, nuts, seeds and coconut in medium mixing bowl.
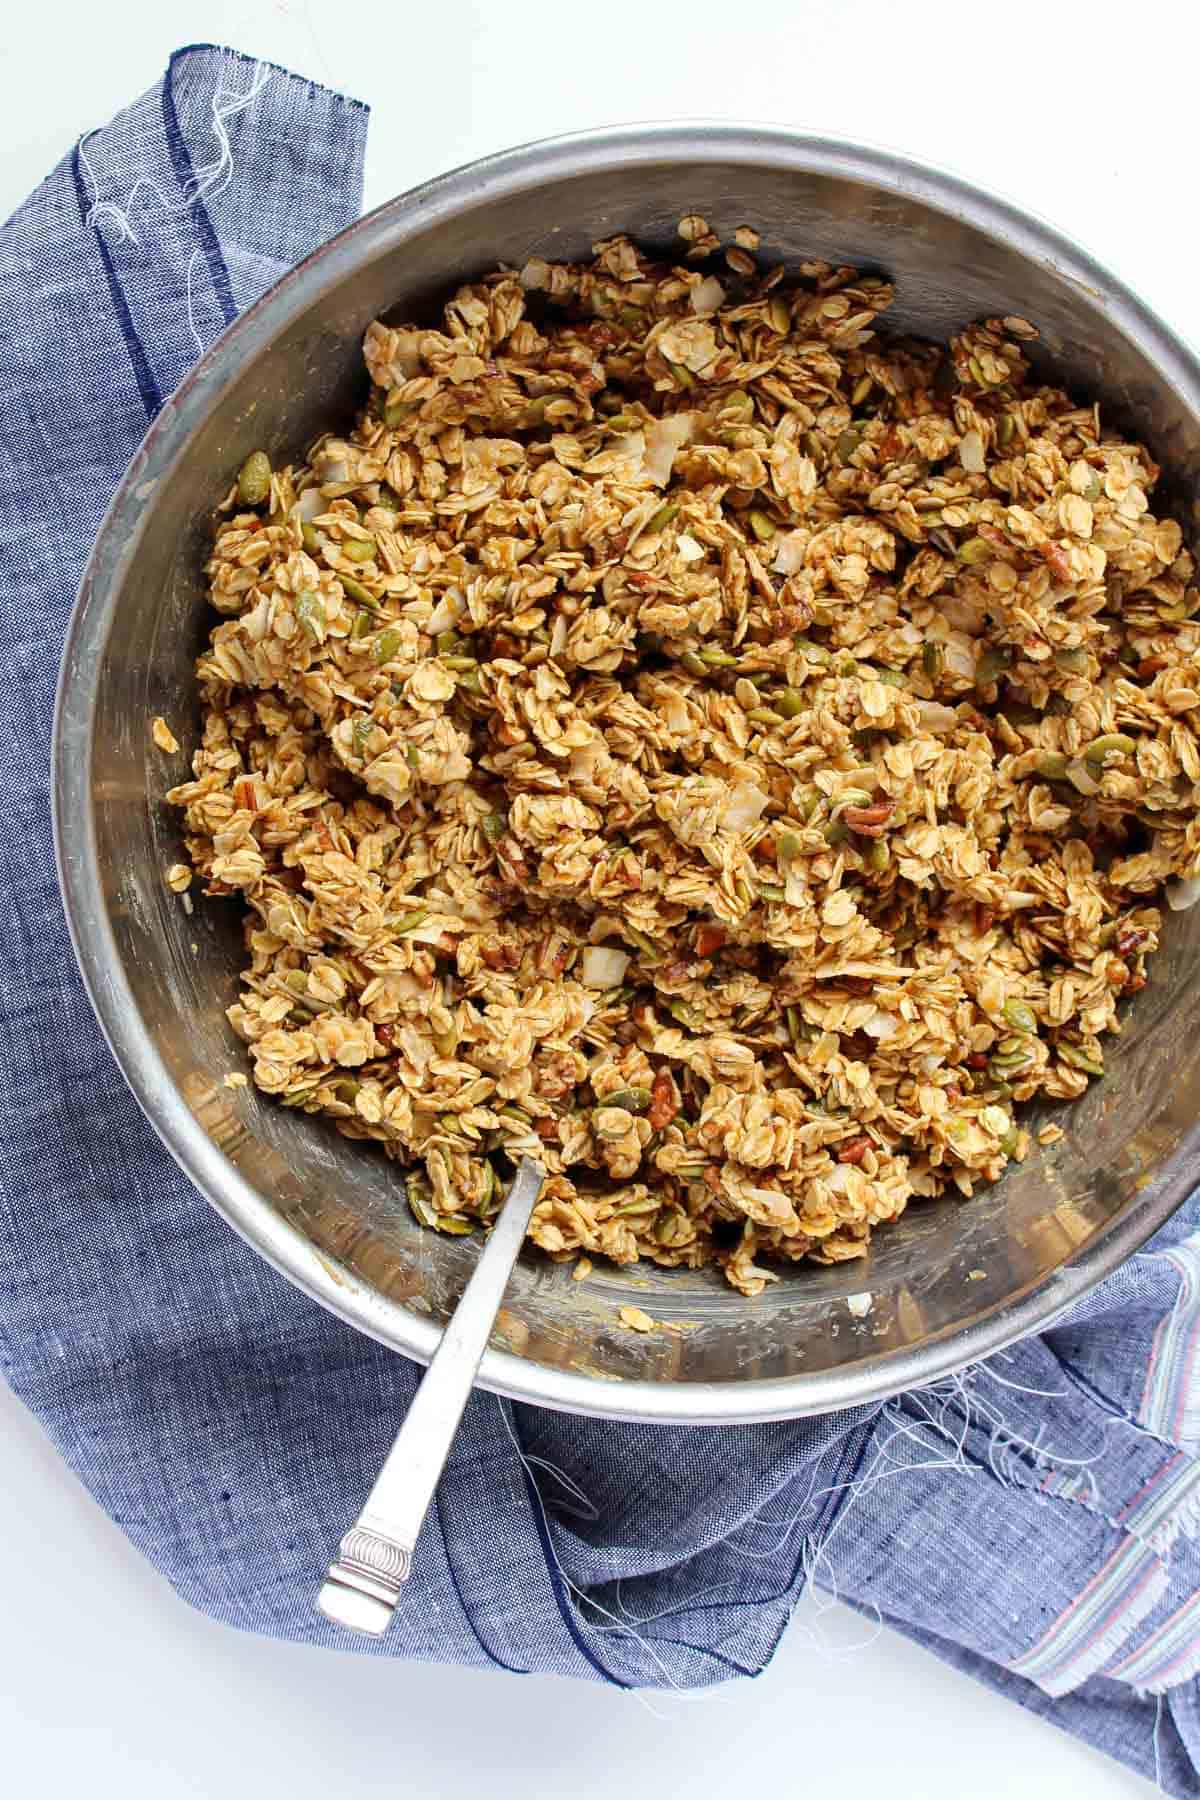
Pour liquid mixture over the dry ingredients in the mixing bowl. Mix everything together so all the dry ingredients are evenly coated.
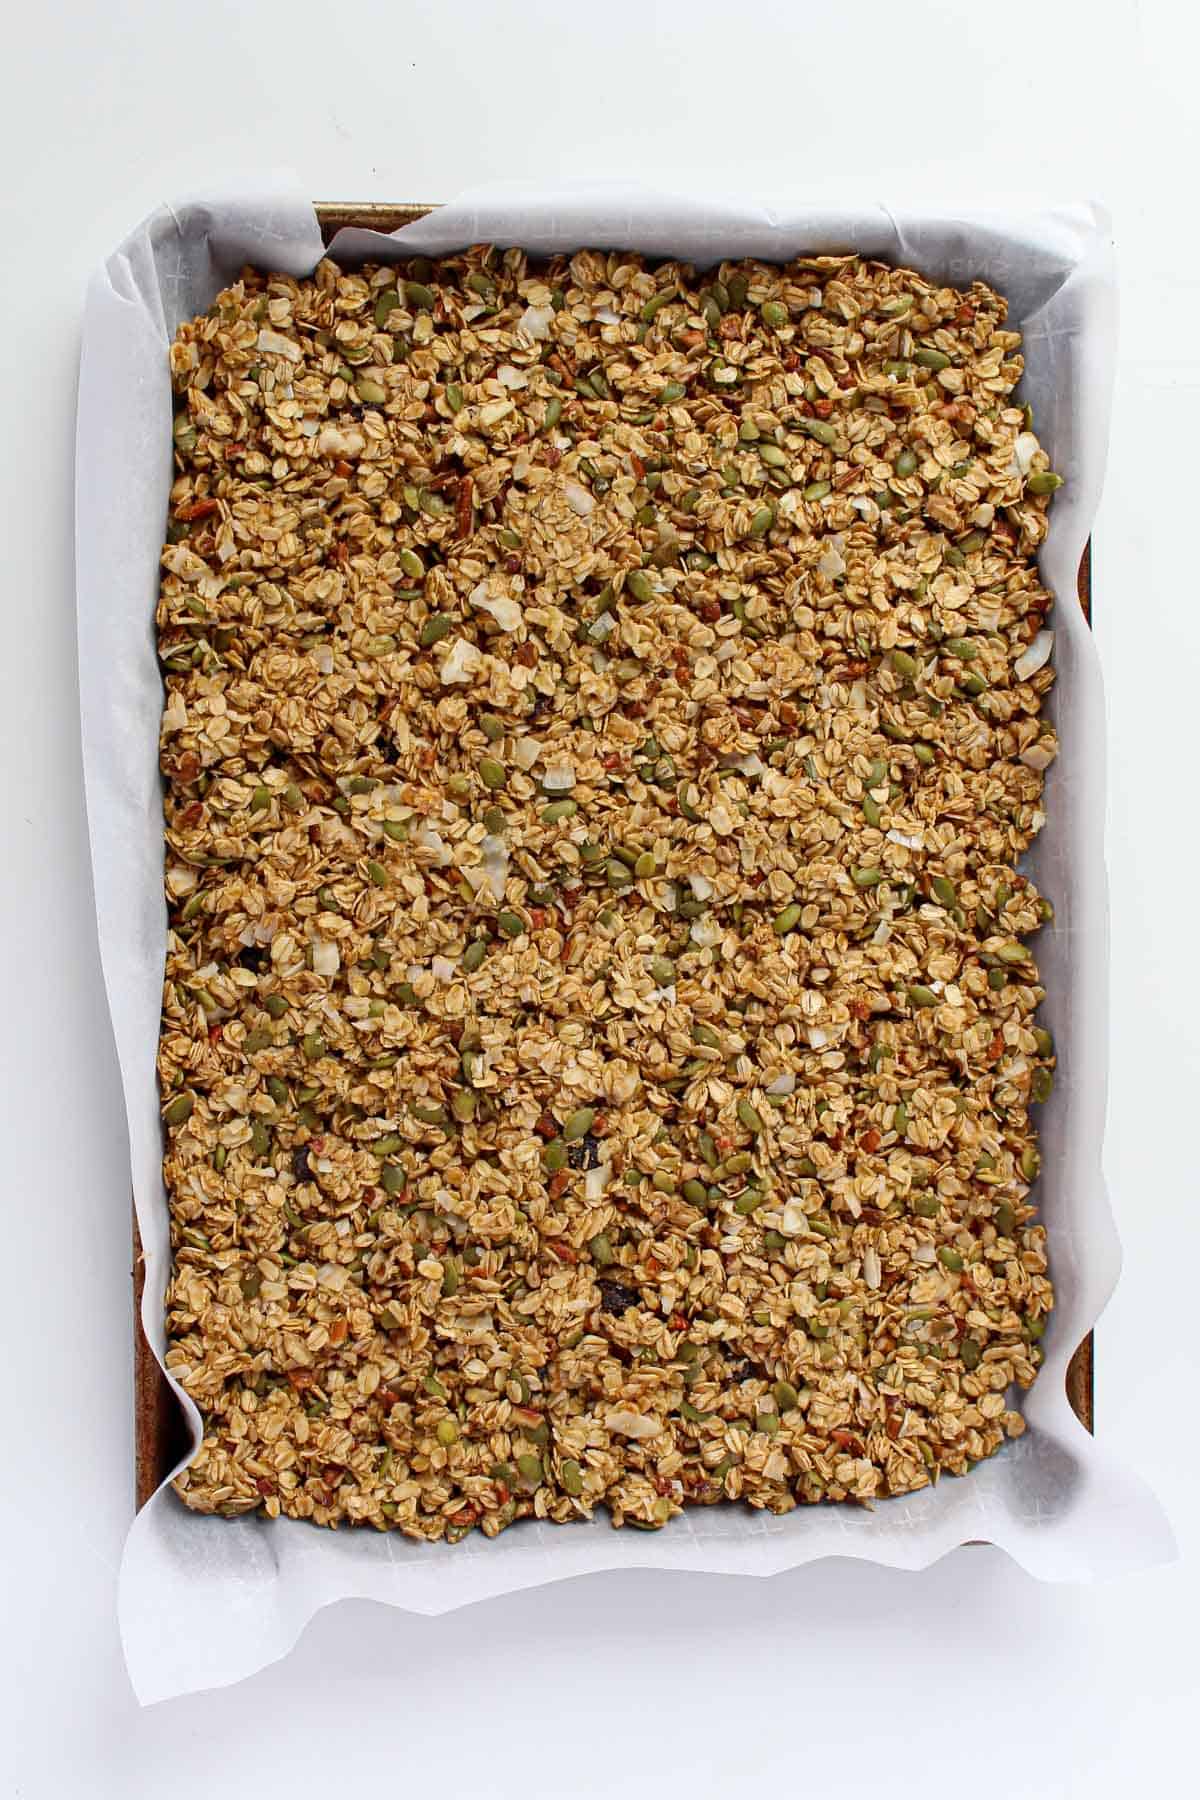
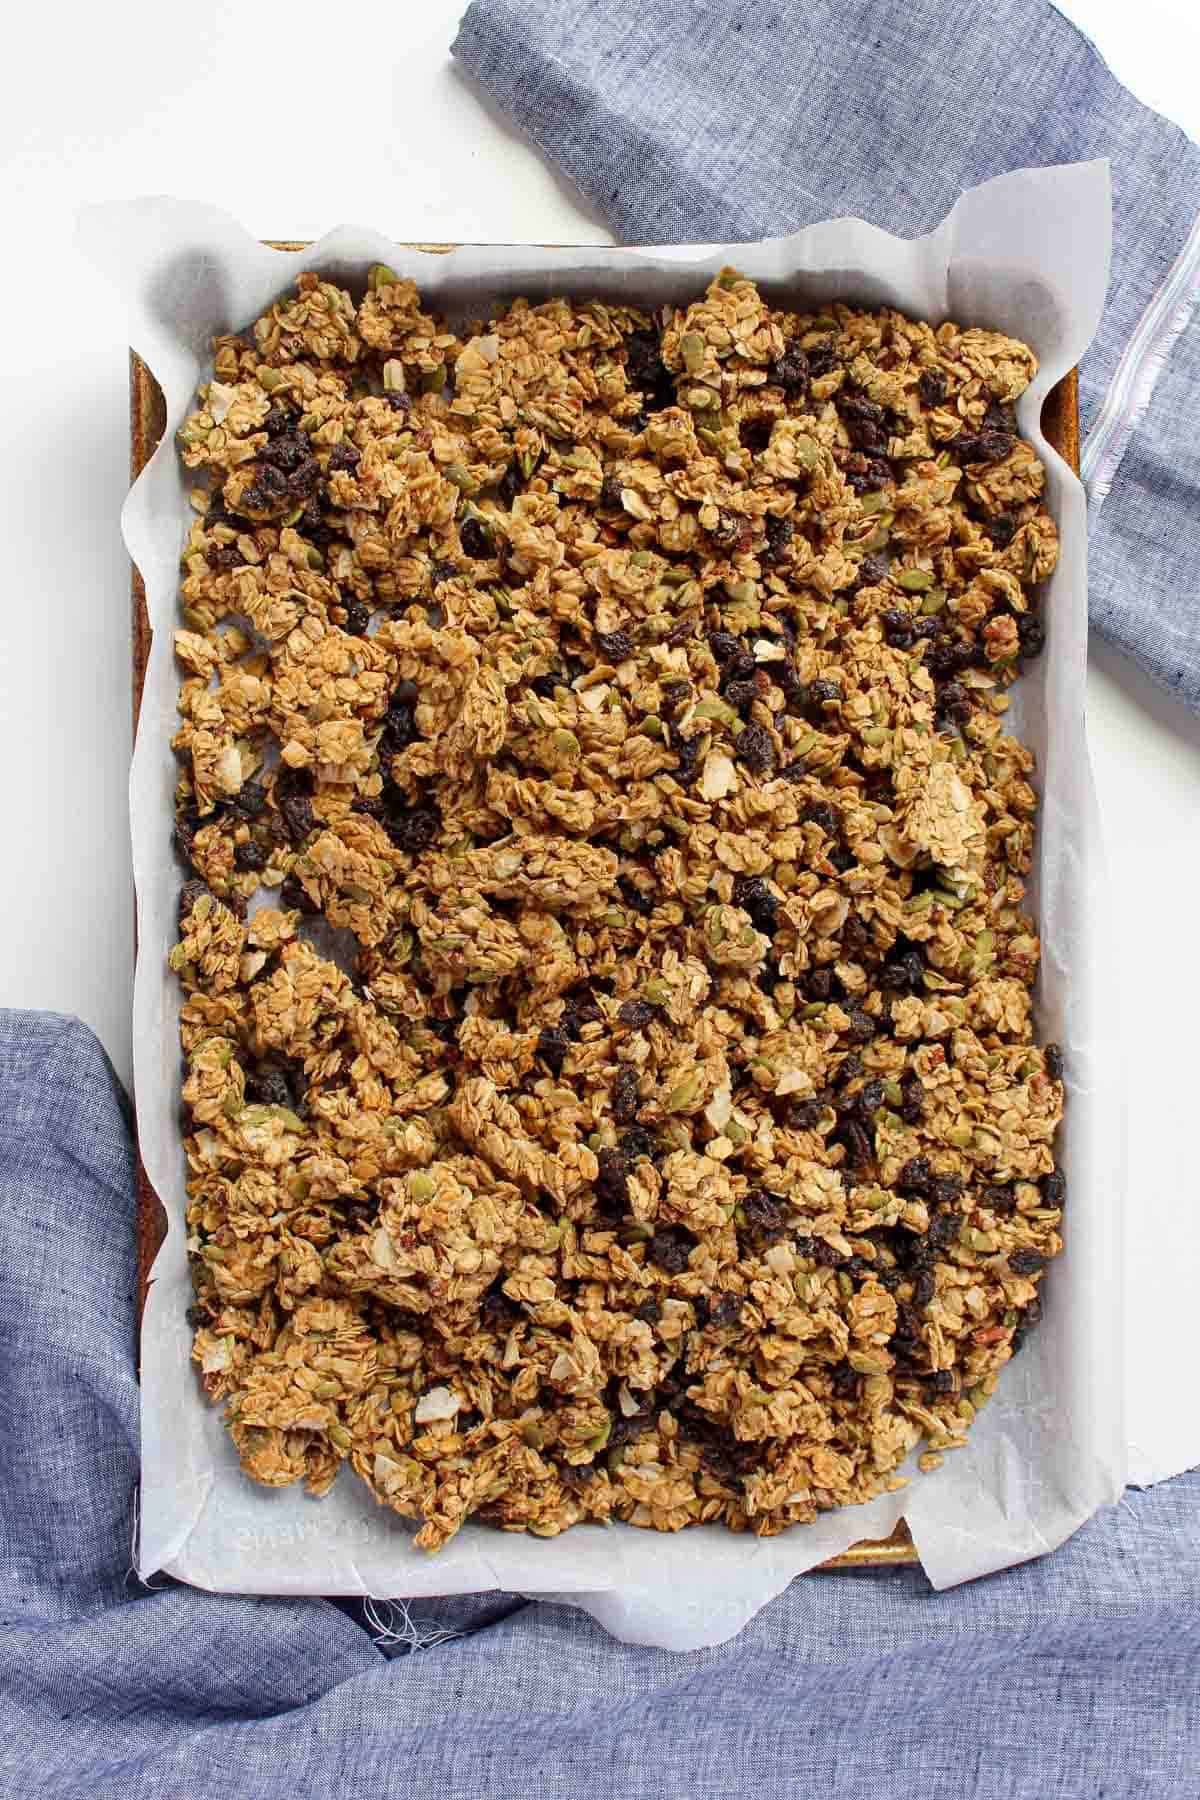
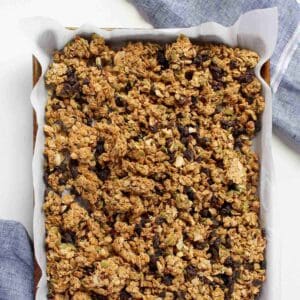
Pour granola onto a baking sheet lined with parchment paper and press down with a spoon or spatula to create a uniform layer.
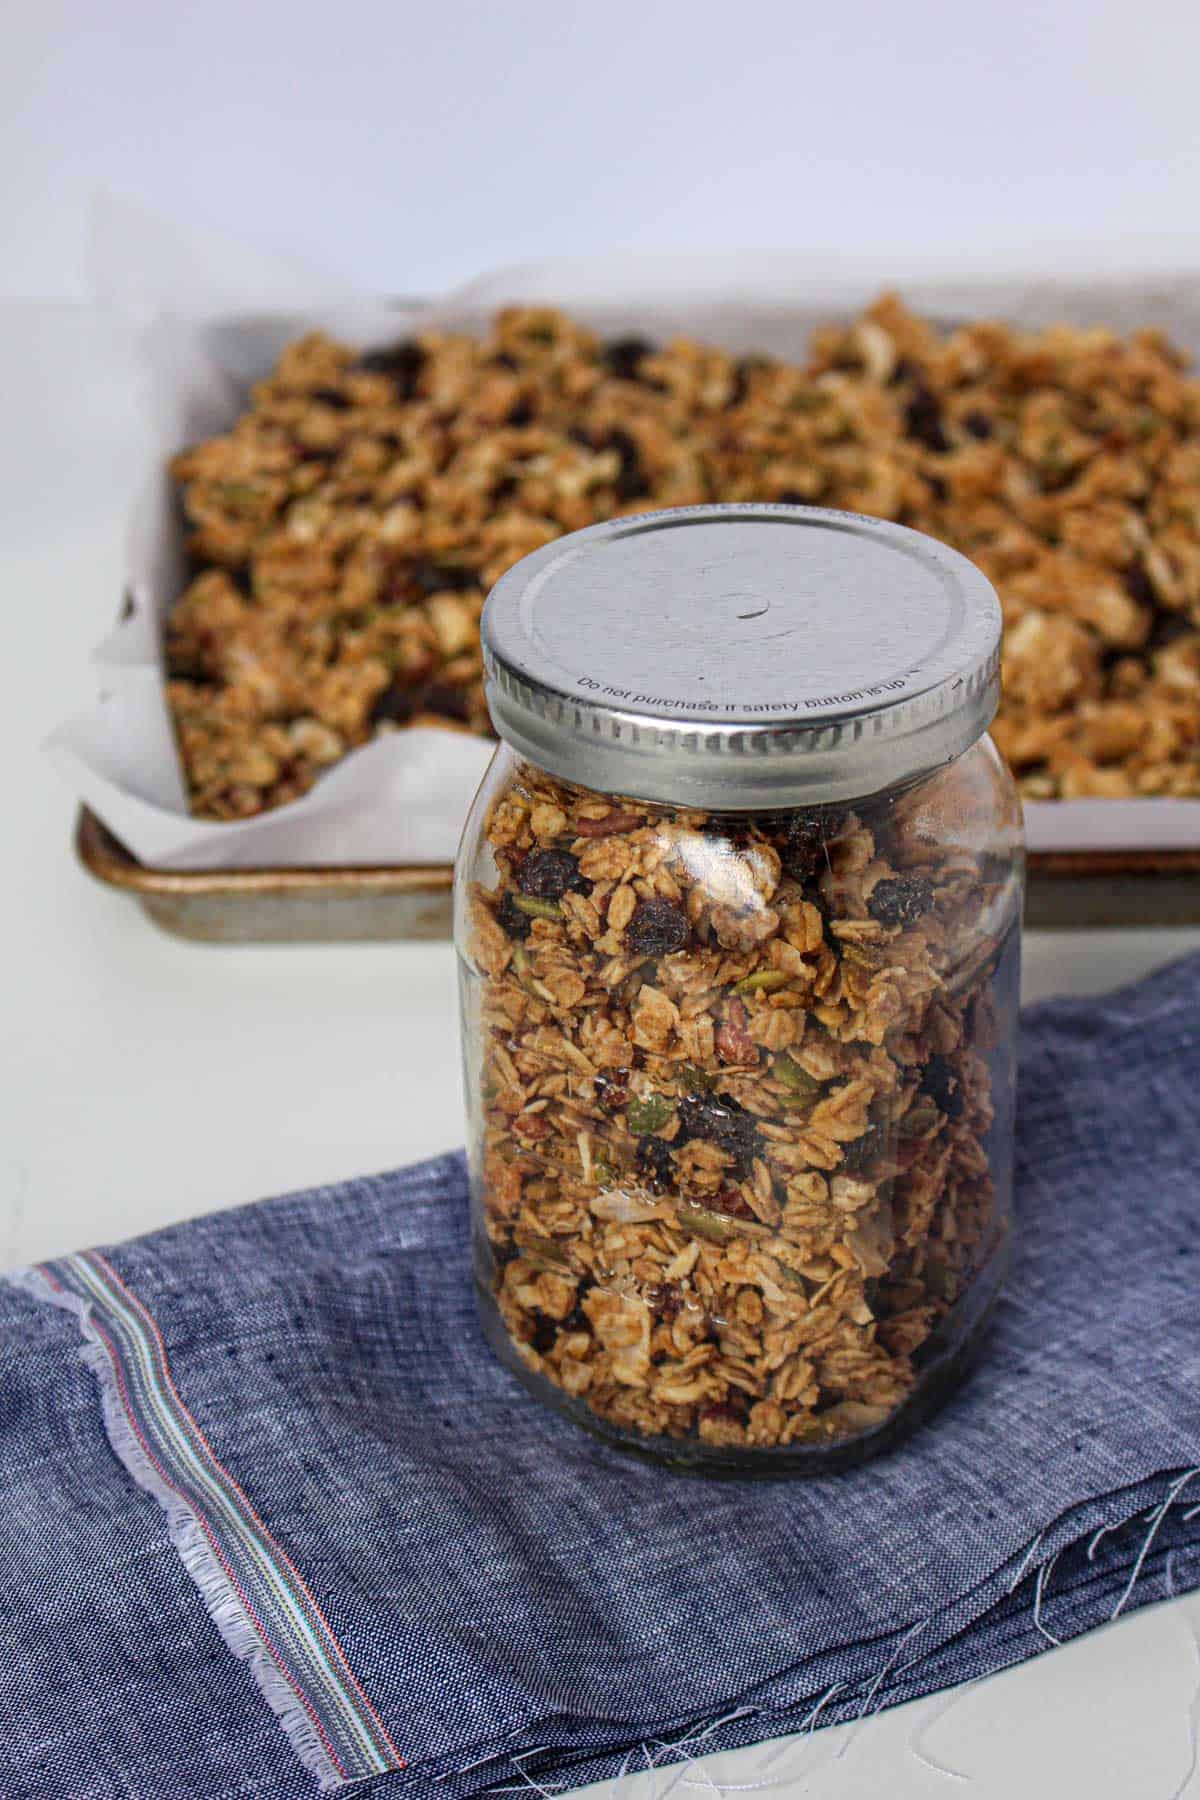
Remove the granola from the oven and add the raisins on top and allow the the granola to cool. Adding the raisins after baking the granola prevents them from burning.
Once you can safely touch the granola without burning your hands, ~15 minutes later, begin to break the granola up with a spatula or wooden spoon and/or your hands.
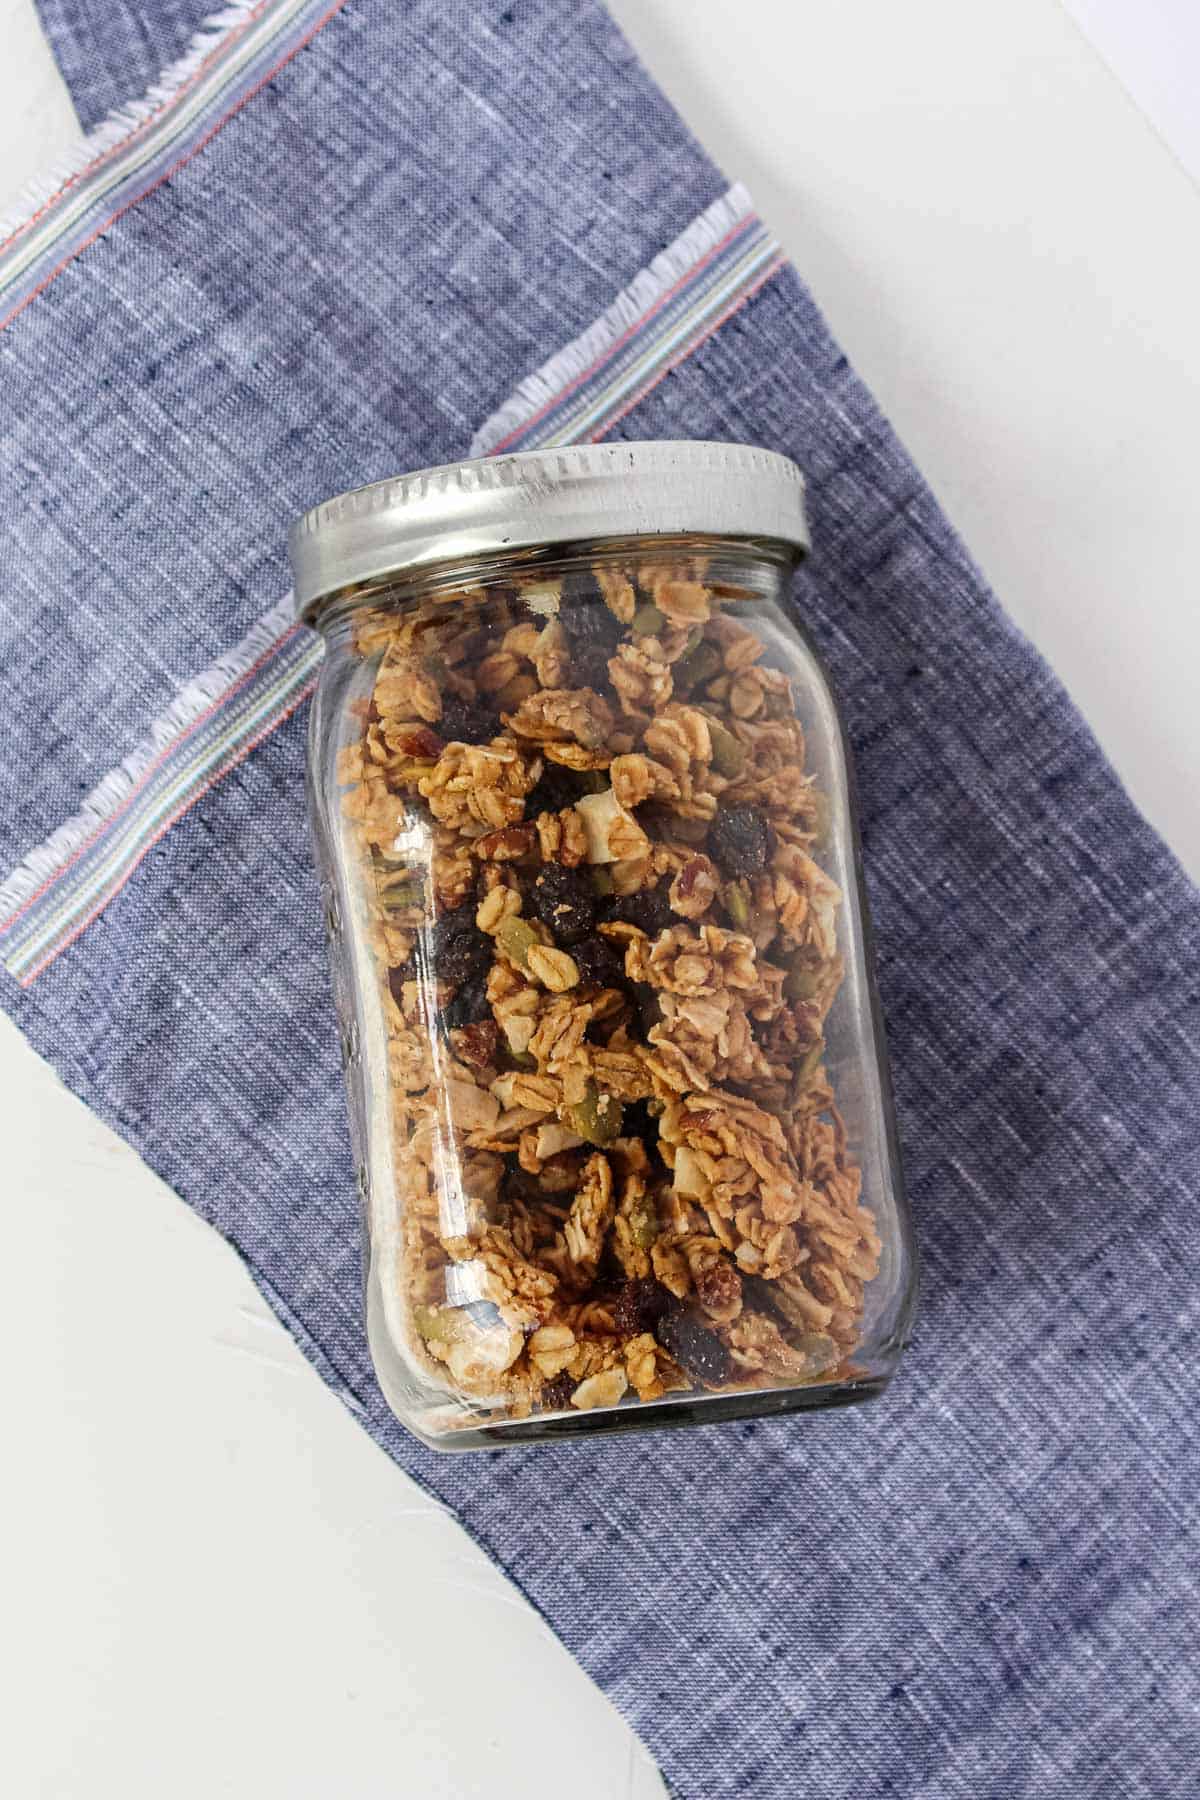
Allow granola to completely cool and place in glass jars or containers. Store at room temperature, in a cool, dark place like a pantry or cupboard. This granola will be good for about 4 weeks, though I doubt it will last that long. 😉
Top Tips
Granola should be baked at a relatively low heat to dry it out without burning it. Most granola recipes call for a temperature between 300-350 degrees, anything higher than this will lead to an overly-baked or burnt granola. No thank you! This recipe calls for 325 degrees Fahrenheit (or 165 degrees C).
To achieve maximum crunchiness and clumpiness, press the granola evenly across and firmly to the bottom of the baking sheet. Stirring the granola during the baking process is not neccessary. If you do choose to stir the granola, recommend only stirring once.
Use parchment paper for an easy clean up and to prevent the granola from sticking to the pan. (Eco friendly tip: I reuse my granola parchment paper several times, for granola making)
Substitutions
- Peanut butter - instead of peanut butter, you could use almond butter or tahini.
- Oats - if you follow a gluten free diet, choose gluten free oats.
- Dried fruit - granola in general is pretty customizable. You could add or use different fruit with or inplace of the raisins, i.e. dried apricots, cherries, or blueberries.
Equipment
Equipment you will need to make this homemade peanut butter granola:
- Medium pan
- Mixing bowl
- Stirring spoon
- Large baking sheet (I used a 9.5 x 13 inch for this recipe)
- Parchment paper
Storage
You can store your homemade granola in an airtight glass container. This will keep for ~4 weeks.
5 ways to enjoy homemade peanut butter granola
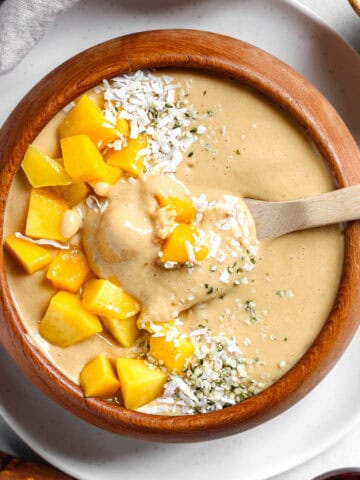
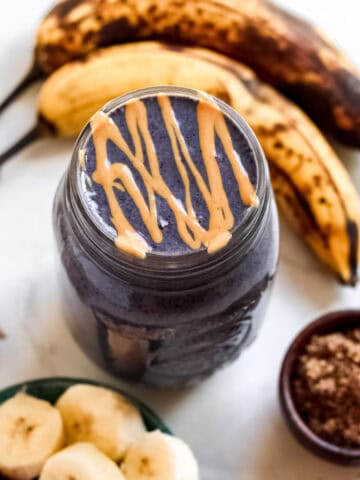
- Topping for a smoothie bowl
- In a yogurt and fruit parfait
- Over ice cream
- With plant-milk of choice
- On it's own as a snack
Related
Looking for other recipes like this? Try these:
Breakfast
Homemade Peanut Butter Granola
Equipment
- 1 Small or medium pan
- 1 Mixing Bowl
- 1 Baking sheet I use a 9.5 x 13 baking sheet
- Parchment paper
Ingredients
Dry Ingredients:
- 2 cups old fashion rolled oats
- ½ cup pecan pieces
- ½ cup pepitas
- ½ cup shredded coconut
Wet Ingredients:
- ¼ cup + 2 tablespoons creamy peanut butter natural, salted
- ¼ cup maple syrup
- 3 tablespoons water
- 1 teaspoon vanilla extract
Mix In At The End:
- ¾ cup raisins
Instructions
- Preheat the oven to 325 ºF (165 degrees C).
- Add oats, nuts, seeds, and coconut to a mixing bowl. Keep the raisins set aside.
- On the stovetop, add peanut butter, water, maple syrup, and vanilla to pan. Stir over low-medium heat for ~2-3 minutes, until all ingredients are well combined.
- Pour wet ingredients on the dry ingredients in the mixing bowl. Stir until thoroughly combined.
- Pour granola onto a baking sheet lined with parchment paper and press down with a large spoon or a spatula to create a uniform layer.
- Bake for 23 minutes. The granola, including some of the coconut pieces, will have a light golden-brown hue and appear dryer than it did prior to baking.
- Remove granola from the oven and add raisins on top.
- Once mostly cool, break apart granola with a spatula and/or your hands.
- Once completely cool, store in an airtight, glass container in a cool dry place like a cupboard or pantry. Good for ~4 weeks.
Notes
I found this resource on How To Make Easy Homemade Granola from the Kitchn the most helpful when I first started making granola.
Not only is making your own nutritious granola more affordable than store-bought options, but it's also a great way to get creative in the kitchen and tailor your granola to your liking. Whether you enjoy it with milk, yogurt, or as a snack on its own, this homemade peanut butter granola is sure to become a staple in your breakfast routine. So why not give it a try and see for yourself how delicious and easy it is to make? Thanks for reading, and happy granola-making!
Thanks for coming! Let me know what you think: